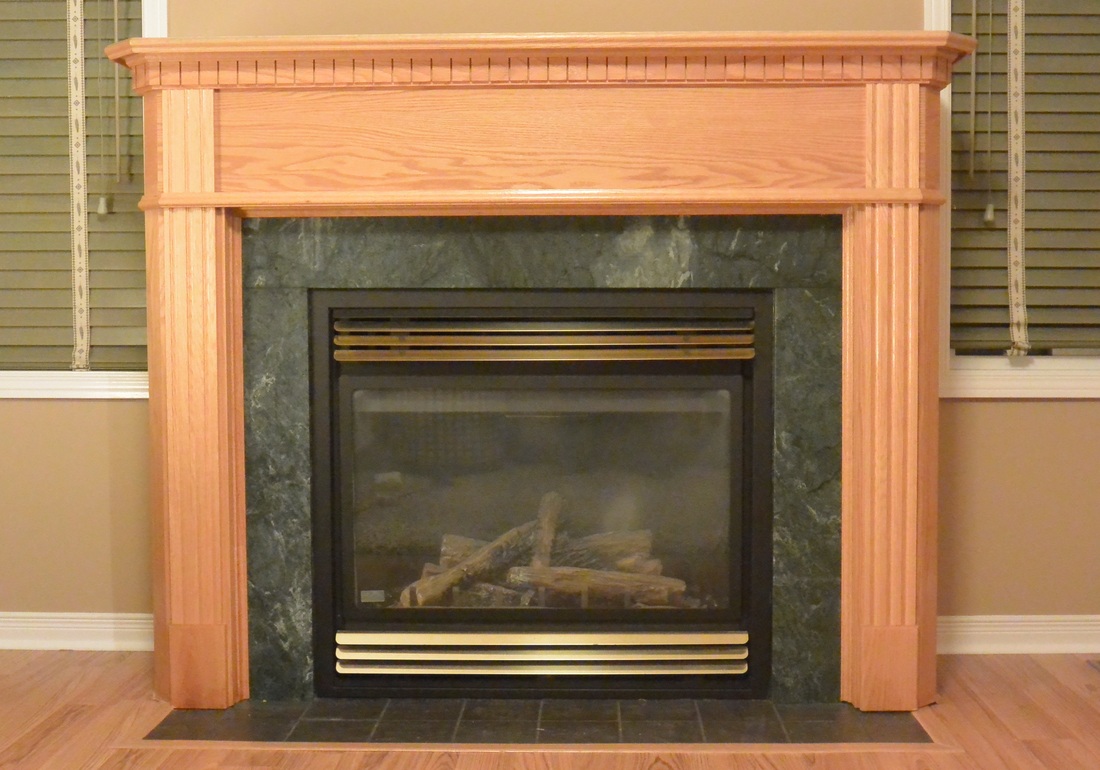
Our gas fireplace was screaming for a makeover! It is such an important piece of our living room. We had to change it to more contemporary look and get rid of ridiculously green marble. By the way, when we were shopping around for marble pieces, they still sell these identical ones til this day in all mainstream hardware stores... and we kept wondering, why?
Anyhow, just like majority of our other projects we had a plan A and plan B. So, this is what we originally thought of doing it:
1) Replace the marble with more up-to-date looking marble
2) We'll then use rustoleum kit (light colour set - now they are selling smaller kits with one can of paint, less waste, yay!) to strip down the protective coat and paint it completely white
Well, for some reason not using the primer and going from Oak finish to pure white the rustoleum paint couldn't help us even with 3 layers of paint... it just didn't turn out even and certain spots turned out so yellow and still showing the original wood colour...
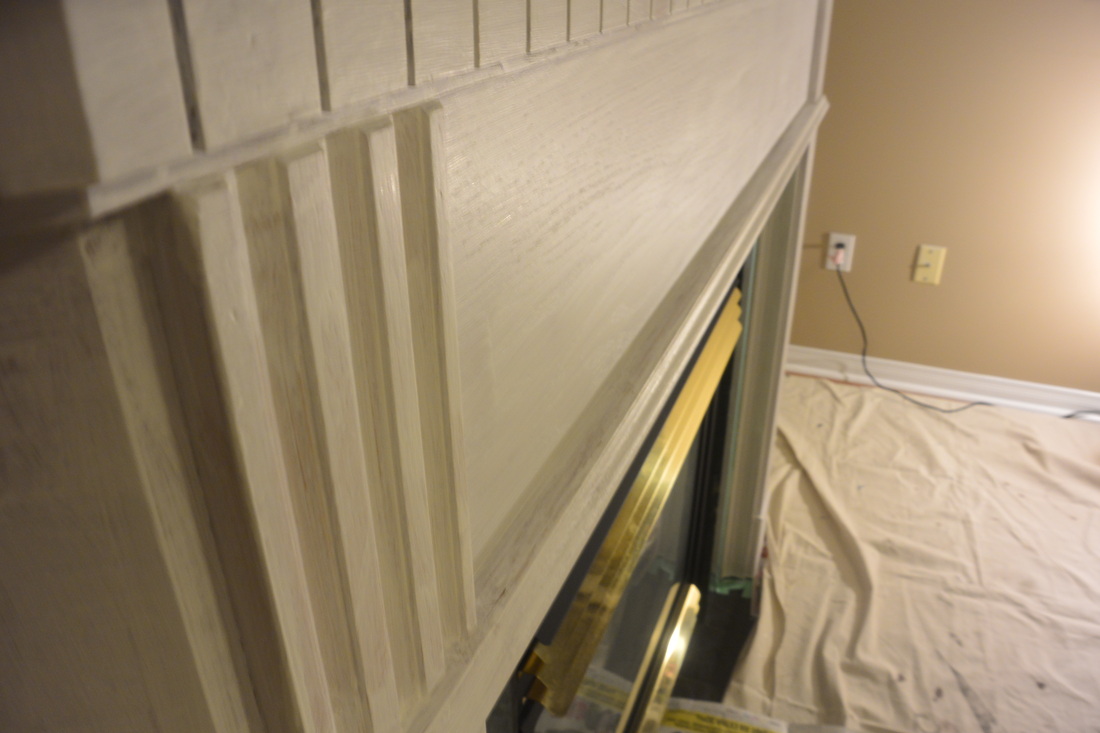
So, we went to local Rona and one of the sales reps recommended to use Benjamin Moore furniture paint as they said one of the local children custom furniture designer always uses that. They couldn't give us 100% guarantee that it would work because we said we'll just use it over the rustoleum paint that we had on.
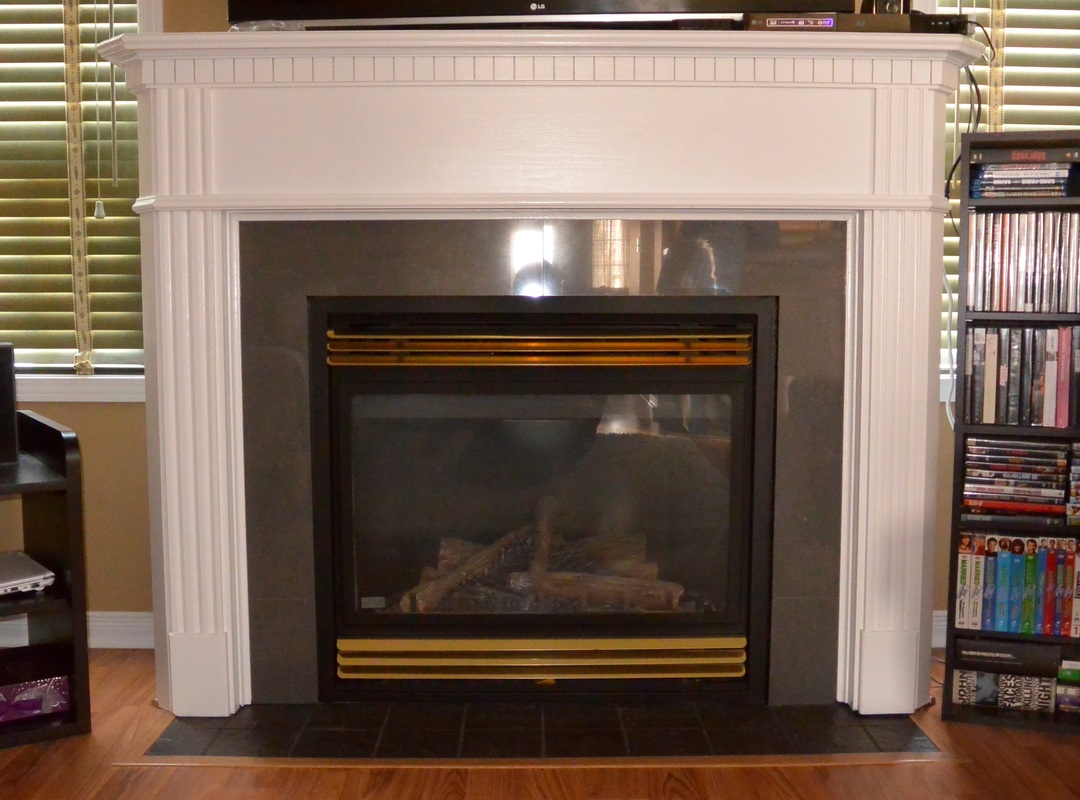
One problem solved and we proceeded with plan B. We took our chances and used $20 paint jar to give perfectly smooth and glossy look to our fireplace. It turned out just the way we wanted.
Then, we had a family friend who was helping out on our bathroom reno. He recommended instead of marble we can put any tiles we want to get the exact look we want.
He was so right! We found these amazing porcelain tiles at Lowes in exact gray colour we wanted and that the marble didn't have. We were happy with this solution as the marble look is just so not for us. So the contractor he cut the tiles in half with the laser tile cutter - no chips, perfect cut right int he middle for the 24" tile! We were more than impressed.
Our conclusion and recommendations:
1) Always have plan B
2) Use small foam rollers
3) Make only one direction brush strokes (don't go <- and ->)
4) Don't use the surface for at least 2 days and keep the children and pets away
5) Please, don't ever use green marble as shown in the picture above...
SO THIS IS THE OUTCOME! You decide if we did it good. A little secret, this project costed us less than $100... yes, even with plan A and plan B

 RSS Feed